The Minecraft Overviewer is a nice python tool that enables you to render google maps like maps for your minecraft server.
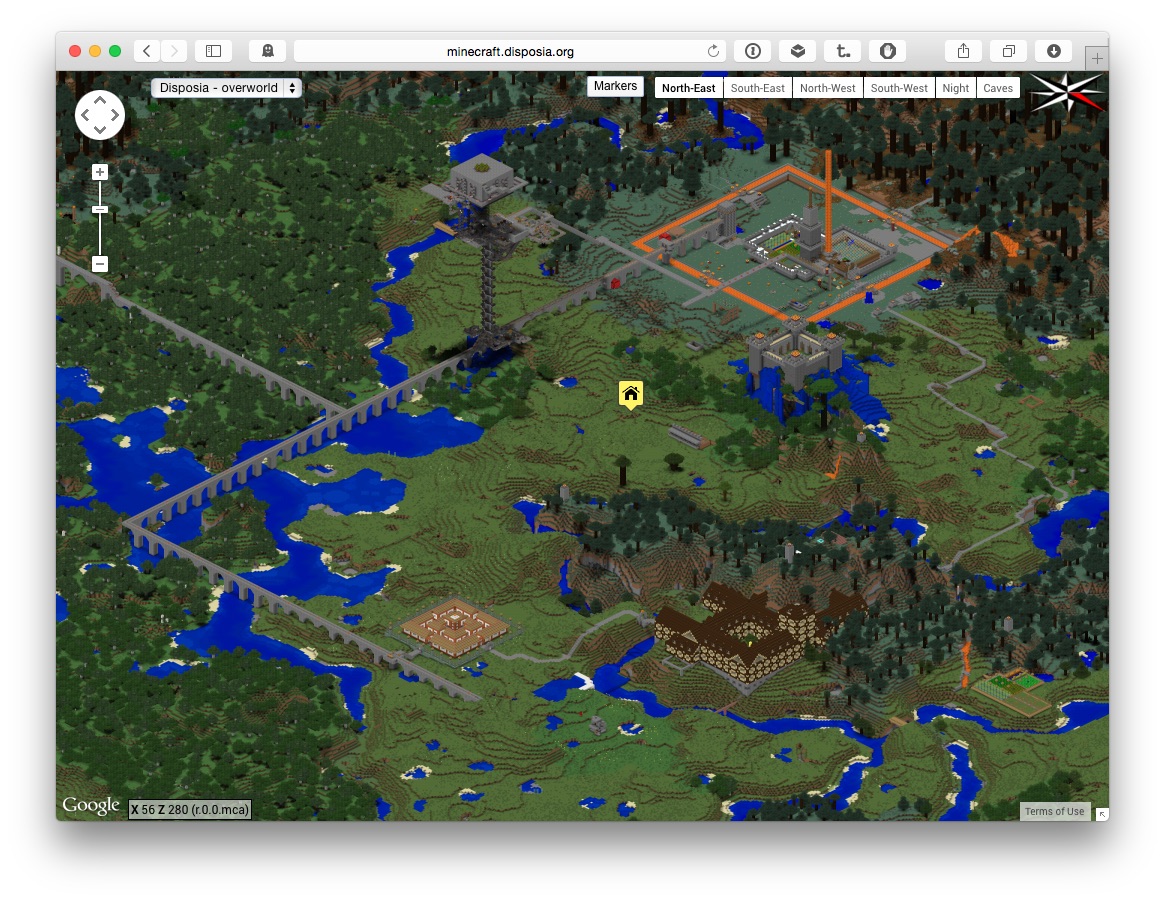
This is an example showing the map of my server minecraft.disposia.org.
Installation
You need a minecraft world that will be displayed, of course. A world is generated by your minecraft server (port games/minecraft-server) upon first start.
For image rendering it is easier if you have the minecraft client installed too:
# portmaster games/minecraft-client
Clone the Minecraft Overviewer repository:
# git clone git://github.com/overviewer/Minecraft-Overviewer.git
(Note: you need git for this. Install port devel/git if need be)
Make sure you have python2.7 installed (port lang/python27). Ensure that you are using it by adding:
PYTHON_VERSION=2.7
to the file /etc/make.conf.
The Minecraft Overviewer has some python dependencies:
# portmaster math/py-numpy
# portmaster graphics/py-imaging
Build the Overviewer:
# python2.7 setup.py build
You now have an overviewer.py script in you Minecraft-Overviewer directory.
Configuration
The basic usage is now:
python2.7 overviewer.py /path/to/world /path/to/output-dir
Additionally, the overviewer may also require a path to the texture files if it can not find them itself. This is why I recommended installing the minecraft-client as well. Providing the path is done via the config.py script. You can provide the path to the world data and the output directory in this config file as well, or dynamically load it from you OS environment (which will be shown further down).
Here is the config file I use to generate the maps: gist.github.com/mpgirro/abe487fbed85c8157c49
This config file uses some OS environment variables. Those are exported by a bash script automating the steps for the whole generation of the map.
Running and operations
#!/usr/bin/env bash

MINECRAFT_SERVER_WORLD=/usr/home/max/minecraft/world
MINECRAFT_OVERVIEWER_DIR=/usr/home/max/Minecraft-Overviewer
MINECRAFT_OVERVIEWER_OUTPUT_DIR=/websites/minecraft.disposia.org/http
MINECRAFT_OVERVIEWER_CONFIG_LOCAL=/usr/home/max/minecraft-overviewer-config.py
# view the config file at: https://gist.github.com/mpgirro/abe487fbed85c8157c49#file-minecraft-overviewer-config-py
MINECRAFT_OVERVIEWER_CONFIG_GIST=https://gist.githubusercontent.com/mpgirro/abe487fbed85c8157c49/raw/minecraft-overviewer-config.py
MINECRAFT_OVERVIEWER_TEXTURES=/usr/home/max/.minecraft/versions/1.8/1.8.jar

# Export the variables config.py needs
export MINECRAFT_SERVER_WORLD
export MINECRAFT_OVERVIEWER_DIR
export MINECRAFT_OVERVIEWER_OUTPUT_DIR
export MINECRAFT_OVERVIEWER_TEXTURES

# Download current version of the config file.
rm $MINECRAFT_OVERVIEWER_CONFIG_LOCAL
curl -fsSL $MINECRAFT_OVERVIEWER_CONFIG_GIST > $MINECRAFT_OVERVIEWER_CONFIG_LOCAL

# Render the World
cd $MINECRAFT_OVERVIEWER_DIR
python2.7 overviewer.py --config=$MINECRAFT_OVERVIEWER_CONFIG_LOCAL

# Generate the markers - looks similar to the rendering run, but --genpoi will only generate some JS
python2.7 overviewer.py --genpoi --config=$MINECRAFT_OVERVIEWER_CONFIG_LOCAL
cp $MINECRAFT_OVERVIEWER_DIR/overviewer_core/data/web_assets/icons/*
$MINECRAFT_OVERVIEWER_OUTPUT_DIR/icons/
Note that the points of interest (POI) are generated in a second step, looking very similar to the rendering. Yet the --genpoi option does not execute a rendering step, it only creates the JavaScript files for the POI options in the map.